Here we explain what options are currently available on klar.land for displaying 3D data and how the data should be prepared accordingly to achieve satisfactory results.
Programm
We recommend the blender program for 3D data generation.
A glb file is exported from blender, which must contain the baked textures and all animations and materials compressed as best as possible.
The best performance of the 3D display in the web browser is achieved by the greatest possible compression and reduction of the components/vertices. This ultimately serves the positive user experience.
Data format
klar.land processes data in glb/gltf data format with object names specifically listed therein, which serve as the basis for interaction. The designation is listed further down in this manual.
Upload data
Via the admin menu, people with appropriate access rights can create a new so-called “Stage” to upload the 3D data.
For this purpose, the glb file can be uploaded in the provided field simply by dragging and dropping. The loading bar reflects the progress of the upload. As long as this is in motion and the upload is not yet completed, the browser window must not be closed.
In the text field “JSON” the individual interaction commands for the glb/gltf file and 3D environment are defined. The various options for setting and fine-tuning the “Stage” can be found in the JSON instructions.
Material
1. for changeable materials, an object called “MaterialHolder” should be created, which contains all materials that can be switched between.
Camera
1. the initial camera (the view you see when loading the scene) must be called Defaultcam.
2. all other camera names must end in cam.
Lighting
1. the names of arealights must begin with Arealight and
2. pointlights with pointlight.
Objects
1. object designations must also be assigned to the associated meshes.
2. if several objects have the same name e.g. in case of several eggs, the names should then be “Egg_1, Egg_2, Egg_3”, etc.
3. objects should be given a scale of 1 before export.
4. for objects with video textures, it is recommended to create simple planes (rectangles) with standard UV mapping. These must have different materials if different objects are to be shown with different videos each. Objects with the same materials also get the same video.
Material/Textures
1. for glass materials, the name must start with Glass.
2. baked ambient occlusion maps would be important for performance, since dynamic shadow calculation is computationally intensive.
3. a special, non-standard node in Blender is used for the Baked Ambient Occlusion Maps. This is best extracted from an existing blend file. If you do not have a suitable blend file, please contact us.
Navigation in the Stage
If navigation over the floor (i.e. clicking anywhere on the floor) is desired, the floor object should be named “_floor” and the object’s pivot should be centered. Attention: in the Blender hierarchy only the mesh object must be called “_floor”.
As an alternative to the _floor object, you can also name an object as “_navMesh”. This is automatically made invisible and via the “userScale” parameter in the Json code you can specify the desired height in meters above the _navMesh. Thus, compared to the _floor object, you have more customization options.
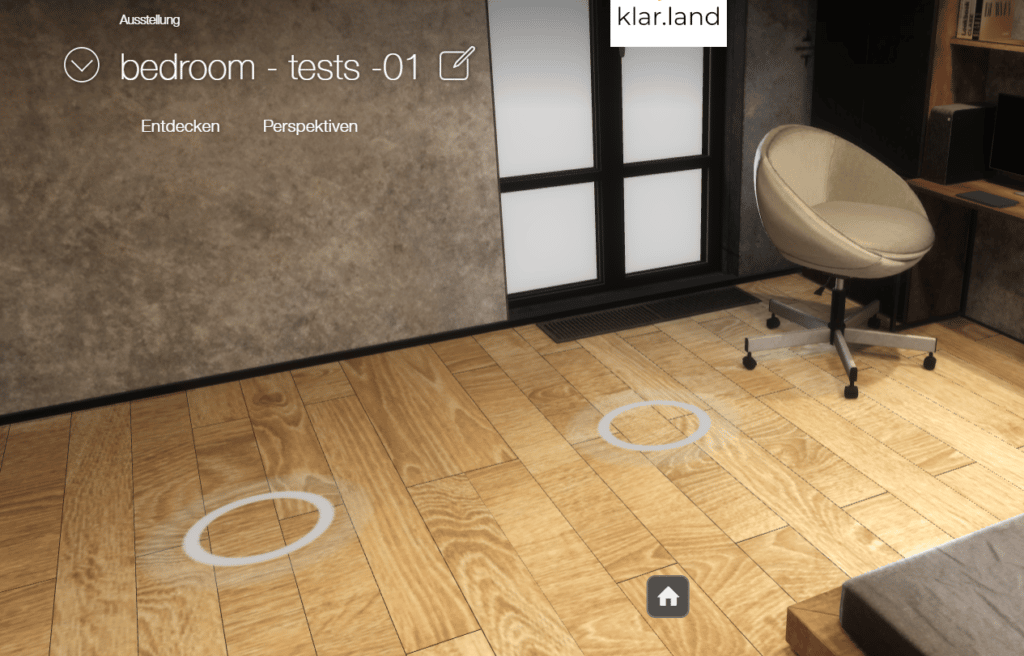
For apartments/rooms or similar, it is recommended to use groundspots. Among other things, these prevent navigation into walls. To do this, simply create several planes (=rectangles) without material just above the floor object named as “_floor”, which contain the string “groundspot” in their names. In addition, the following must be included in the json code:
{
  "Stage3dData": [
    {
	  "navigationmode":2,
	  .....
    }
  ]
}

Animations
Animation names must start with the corresponding object name.
So for example
Egg_1 flies on dining table
Egg_2 in pot
IMPORTANT: Pay attention to consistency in naming in animations and objects! Both for creation and for post-processing/changes!
Do not duplicate animations!
Information in a separate list for the animations:
1. animation name (any animation name)
2. animation group (if several objects become clickable after clicking on one object, all of them must have the same group name).
3. animation layer (button is clicked and camera flies to camera spot => layer 0, object is clicked and plays animation => layer 1, child object is clicked and plays)
4. animation state (if you want a different animation to play when you click again on an object than when you clicked the first time, the first animation must be set to state 0 and the second to state 1 (e.g. first click => door opens, second click => door closes))
5. animation trigger object (object that should trigger the animation when clicked).
6. animation camera (camera to be switched to when the trigger object is clicked).
7. animations with timecode (the exact names of the animations as specified in the 3D program, including the timecodes when they should be played)
(for more info on animations or their naming, see the JSON tutorial).
