Similar to the enterprise space, you can create tiles in individual workspaces to link and organize different content types.
In this tutorial we will show you how to do that.
Preparation
It makes sense to create the content first before setting up the corresponding tiles. You can learn how to do this in the tutorial“How to add new documents/content“.
This allows you to directly select and link the respective event or document in the user interface of the individual tile at the point “Select link”.
Create tile
Go to the workspace for which you want to create tiles and click on the burger in the upper left corner to open the side menu.

Now click on “Home” under “Selection”.
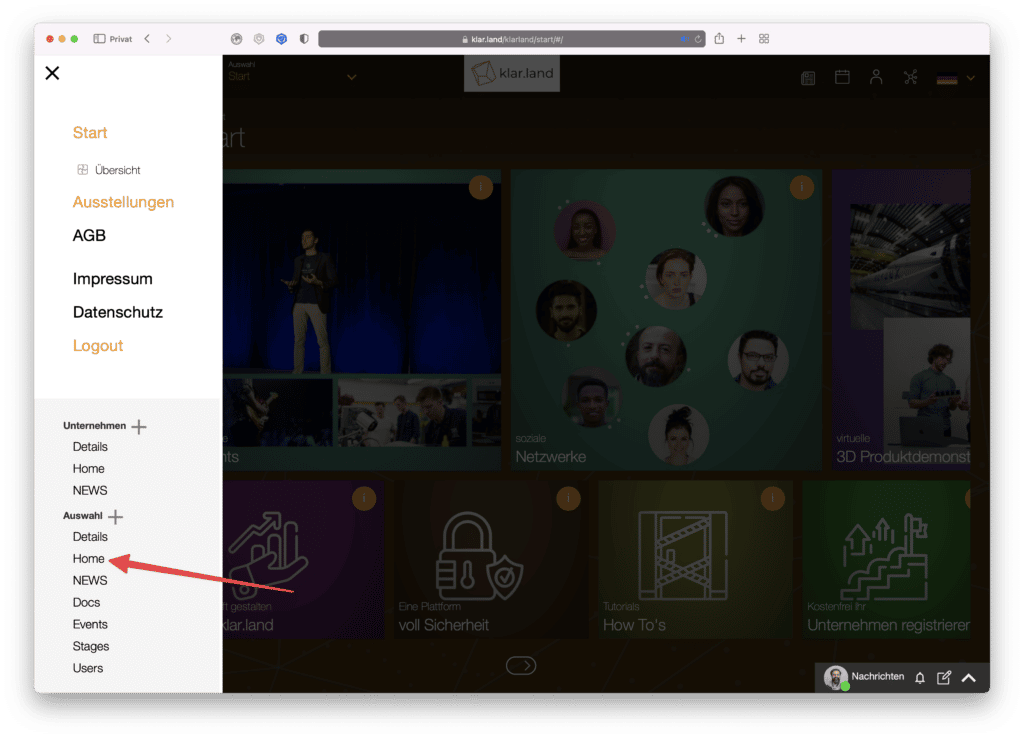
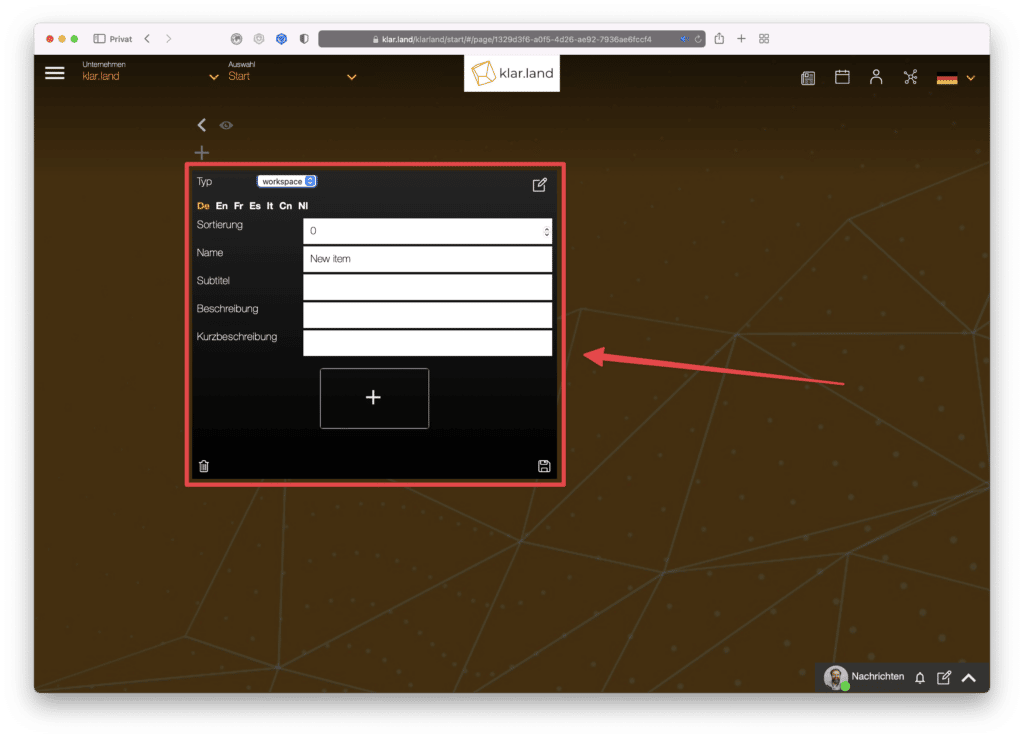
A new window will open. Here you can create and set up a new tile by clicking on the “+” symbol.

Content type
Here, in addition to the content types known from the corporate area (Company, Workspace, Page and External), other options are available: Meeting, Stage, Document and HTML. These four content types are only available within Workspaces.
Select the desired type. This may change the available input fields.
Name
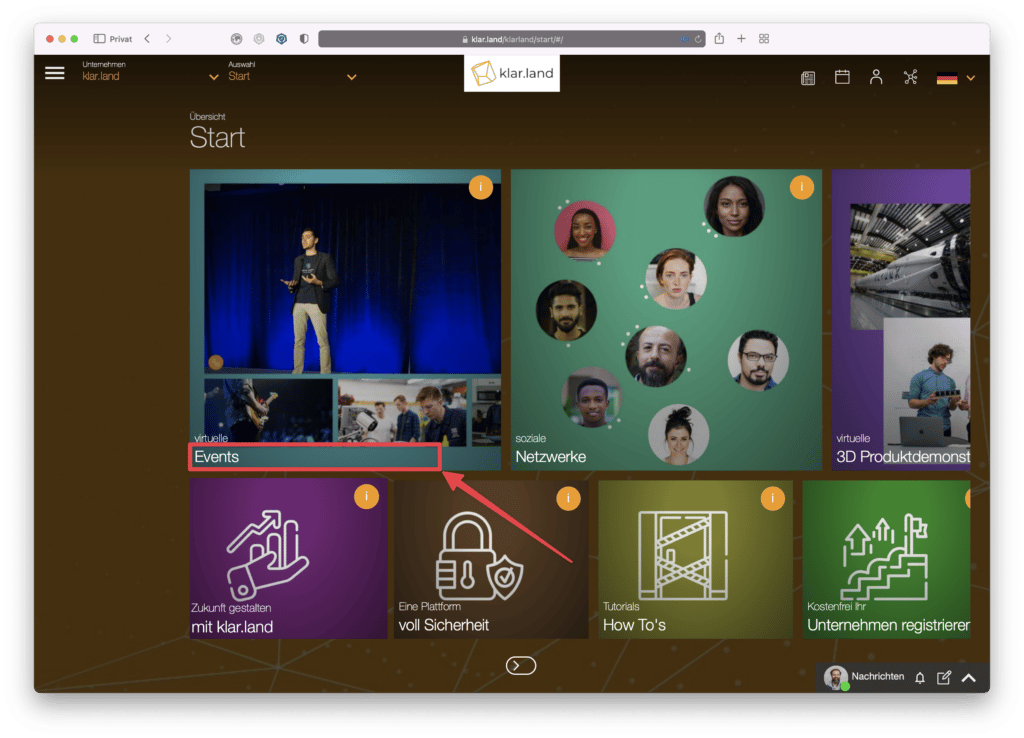
Give your tile a unique name. This appears as the top information on the tile.


Subtitle
Here you have the possibility to describe the tile in more detail. The subtitle appears under the name directly on the tile.

Description
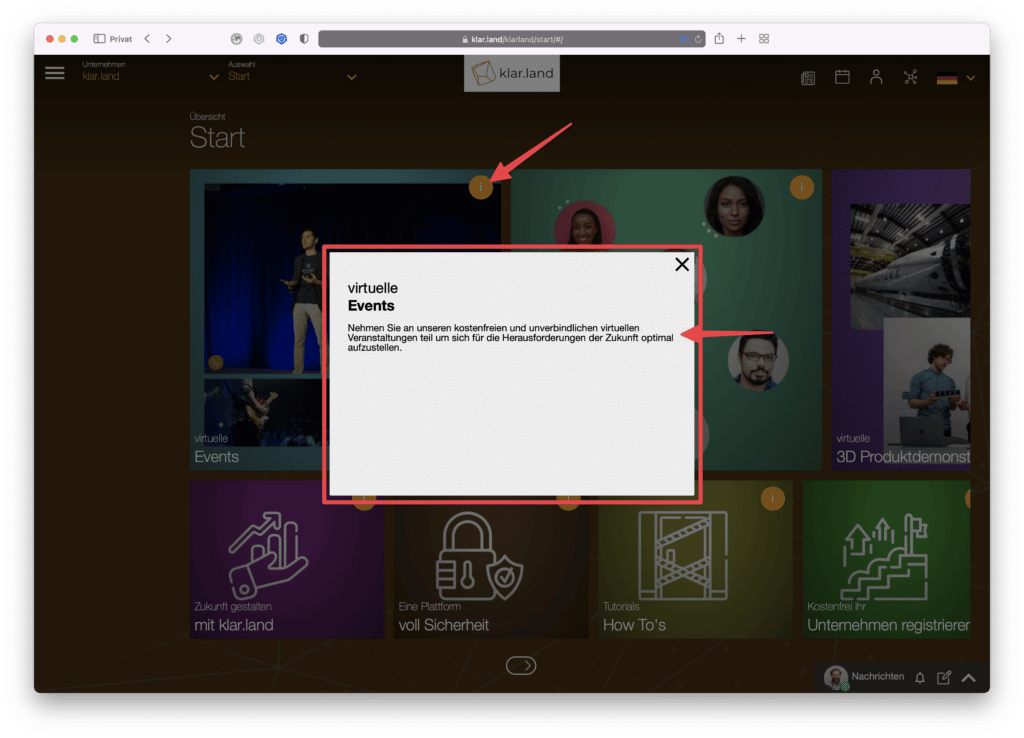
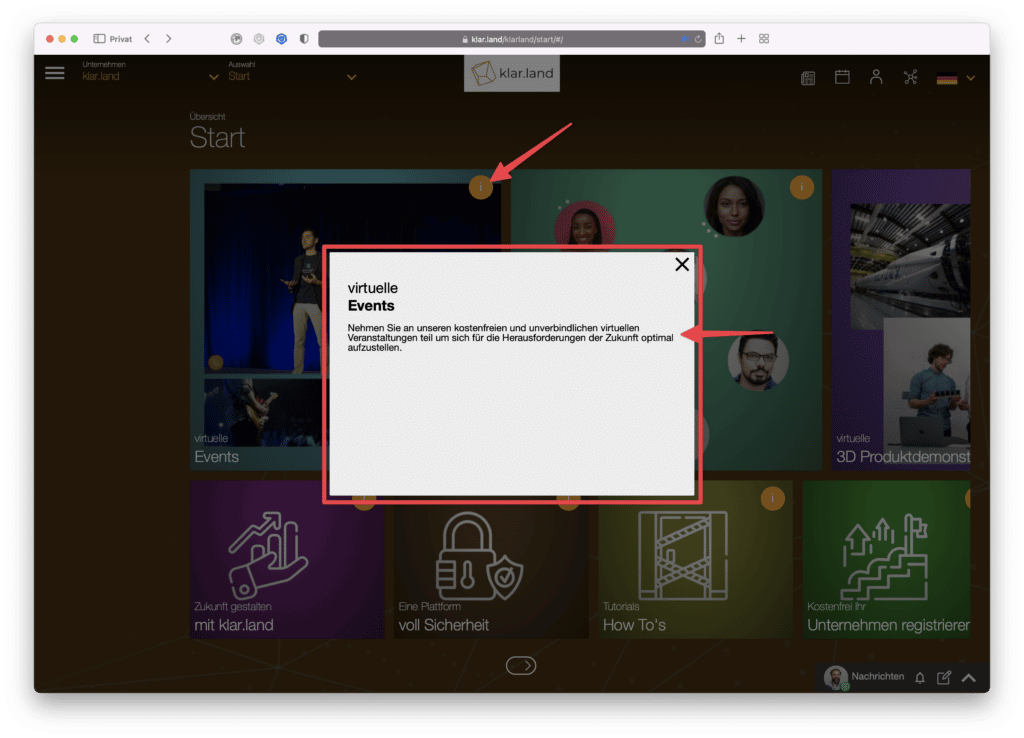
Here you can enter a more detailed description of the contents. The description is displayed when you click on the “i” at the top right of the tile.
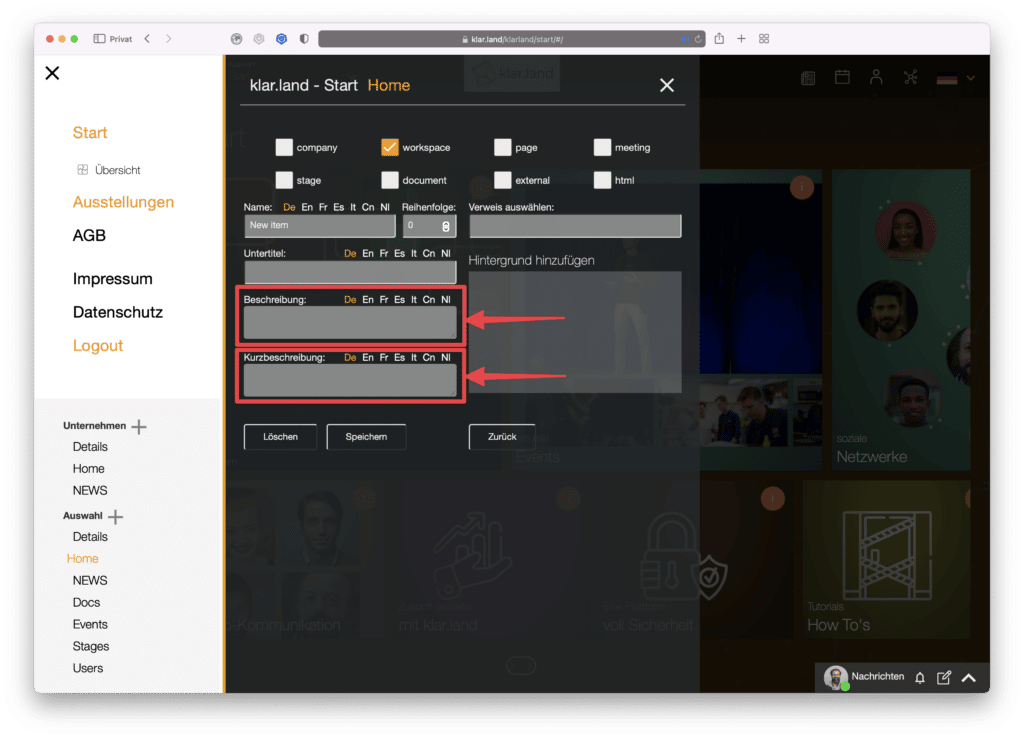
Brief description
The short description is also displayed when you click on the “i”. It is best to limit yourself to one short sentence here.

Order
Here you can enter a number that will determine the order of the tiles. If you do not enter anything here, the tiles will be sorted in the order in which they were created.
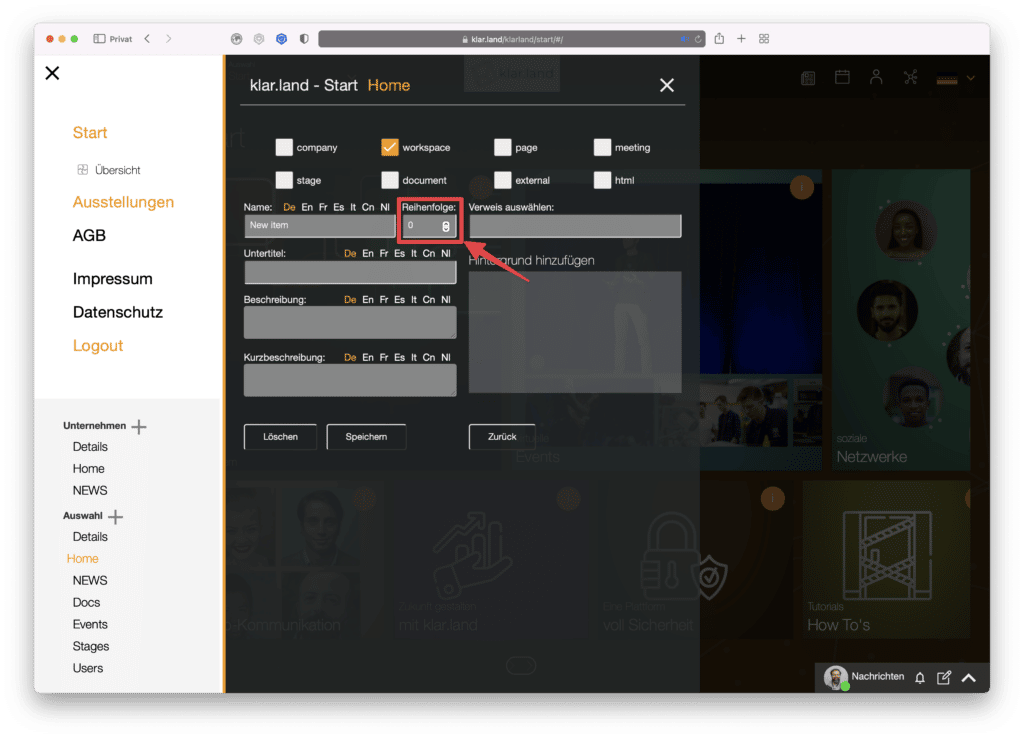
Tip: You do not have to use consecutive numbers. It has proven useful to proceed in steps of ten at the beginning. This way, content can later be inserted between existing tiles without having to manually change the order.
Reference
Depending on the content type, you can select already stored documents, meetings or companies here.

Add background
Here you have the possibility to set a background image for the tile. Ideally, this is web-optimized with a size of e.g. 800*600 pixels and approx. 20 – 80 KB. Significantly larger formats increase the loading time both now and later for visitors.

Specifics of the individual content types
There are things to consider with some content types:
Meeting
For meetings and events, the date is always displayed on the tile.
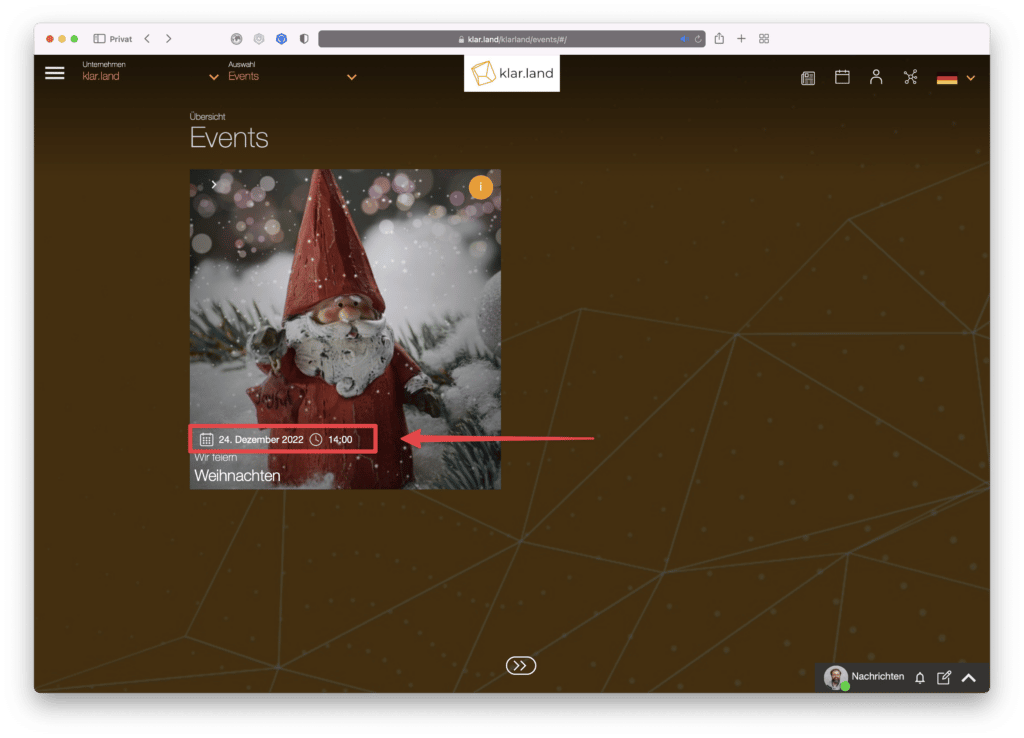
Clicking the (i) on the tile opens a window with the description. There is also the possibility to add the event to your own calendar.
You can also specify that a tile is created by checking the box when creating a meeting. However, this tile will then be displayed first. If you first create the tile here with the contents, you can select the order.
Past events are automatically hidden if the tile was created when the meeting was created. If the tile for the event was created as a content item, it will remain visible after the event until it is manually removed.
Stage
Stages are basically accessible via the menu item “Exhibition”. In order to simplify the access to certain products for the users, you can also create your own tiles in the workspace for the corresponding stage, which link directly to it.
In this way, all the stages that are important for a workspace can be made available in a clear manner.
HTML
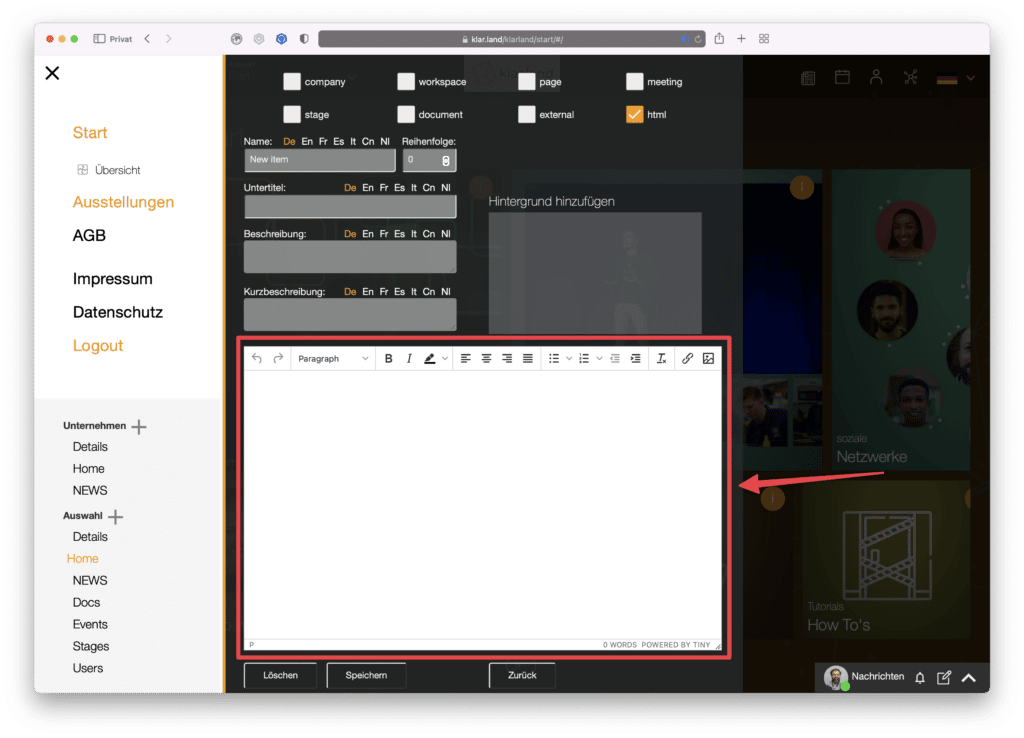
If you select “HTML” as the content type, an HTML editor opens in the lower area. Enter your text here, format it as desired, and add a link or image if necessary.
Page
A Page is a subpage of the Workspace that can be used to organize content.
Within a page you can create another tile with the plus symbol. Here again all content types are selectable.
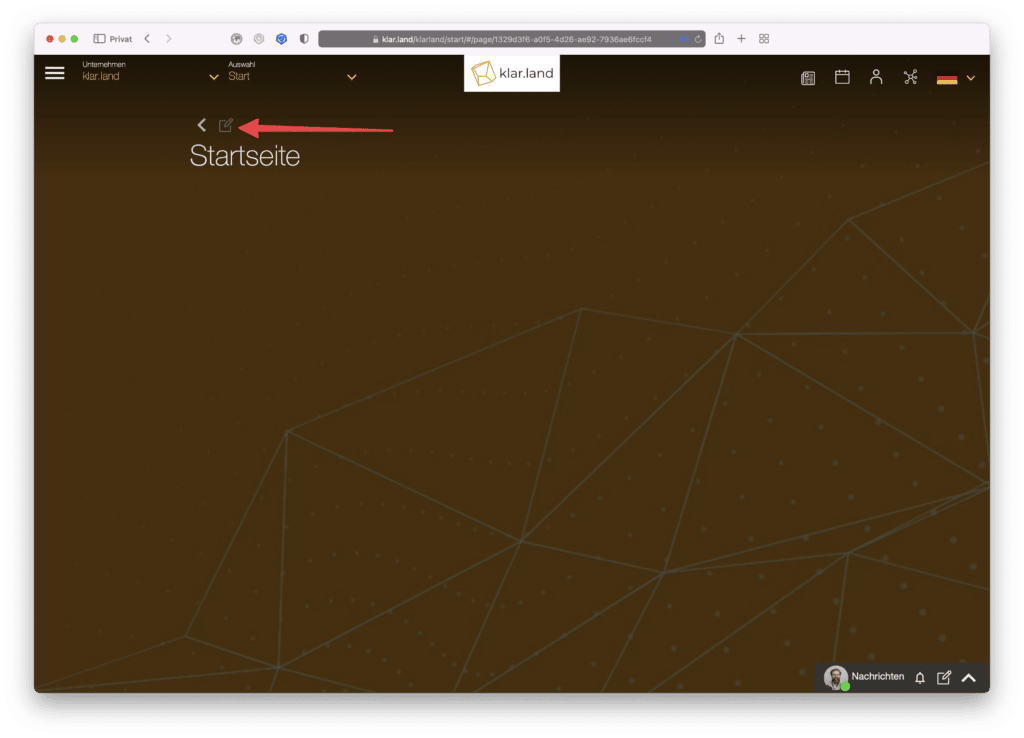

It is possible to create another page on a page. This way, larger amounts of information or events can be organized.
For example, at a virtual event there could be a page for workshops with tiles for the individual workshops and another page for information material with tiles for the individual documents. For larger amounts of data, you could subdivide them with additional pages, e.g. into “user manuals” and “video tutorials” or into subpages for specific products.
