You have successfully set up your business and are now starting to create your areas.
In this post, we’ll give tips and hints about the features, as well as some examples of what the Workspaces can be set up for.
What is a Workspace:
Workspaces are individual areas of your corporate presence, which can be used for a wide variety of functions. For example, workspaces can be set up for employees, as a partner portal, for a virtual trade fair, as a training area where webinars are made available, or even as a public exhibition area accessible to every Internet and klar.land user. Accordingly, workspaces must be planned strategically from the outset. Depending on the usage, the workspaces define the different areas, which can, however, always be supplemented and expanded in the long term.
Setup options for a workspace:
Each workspace offers different options for setup. Let’s start with the basic functions.
Name
Set a name for your new workspace. This name is visible to visitors in the selection. Ideally, the name is very short and concise. If you set up different customer areas, which are only available to invited customers, you can choose the name for the customer groups appropriately and the addition “customer area” is no longer necessary.
An example: You create an area for partners who deal with the distribution of your products and other partners who are more available for assembly and support. A short and concise name could be for the two cases: sales partner and support partner.
Customers like to think of themselves as belonging to a group from one sector or industry. Accordingly, you can subdivide workspaces that are assigned to different customer groups into industries, for example. A customer who can be assigned to several industries would then be able to click through plumbing and mechanical engineering, for example. Due to the designation, he finds his way around thematically very well.
Enter the name in the field under “Name:”.

URL
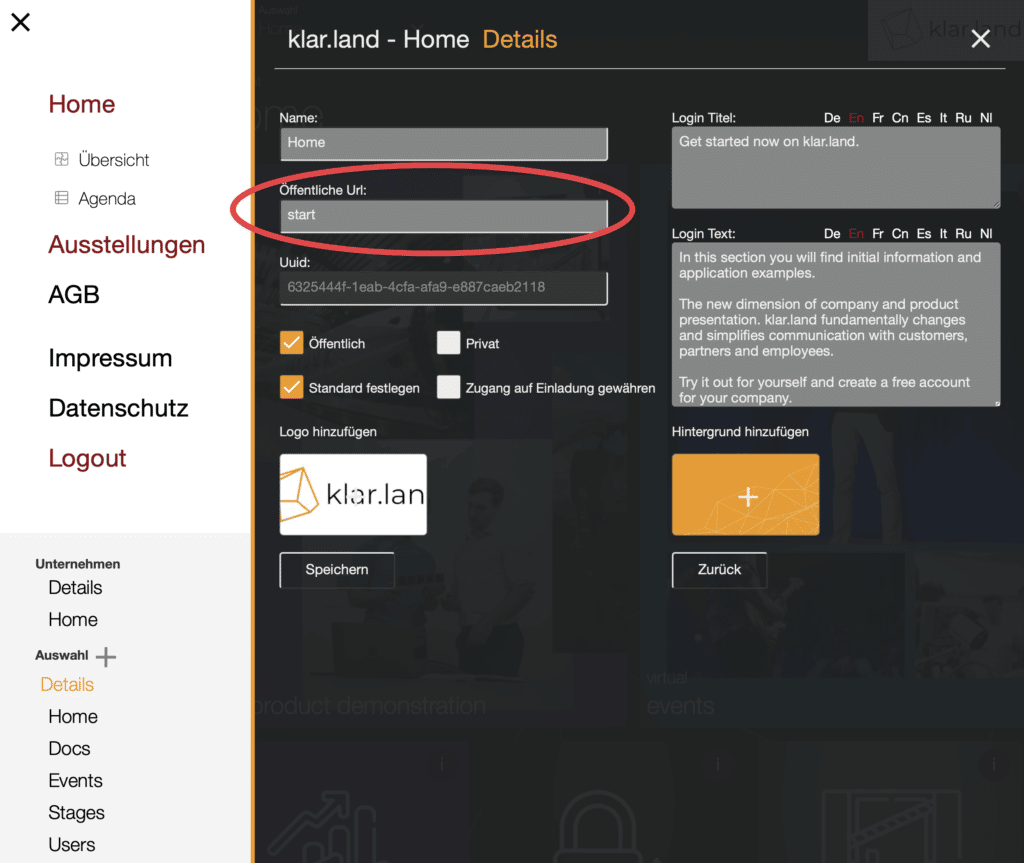
After you create a new workspace, a generic URL is assigned. If you want to use a simpler URL, you can change it under “public URL”. Ideally, this is your first fitting. Since a URL move is equivalent to a complete move in real life, all content must move with the URL afterwards. Therefore, it makes sense to create the desired URL right at the beginning.
Make sure that the URL exists only once in your company. Otherwise, the system will not be able to recognize to which URL it should direct visitors.
Enter the URL in the field under “URL:”.

IMPORTANT!
If you have changed the URL, after clicking “Save” you still have to enter the new URL in the browser address to get to the new URL.
UUID
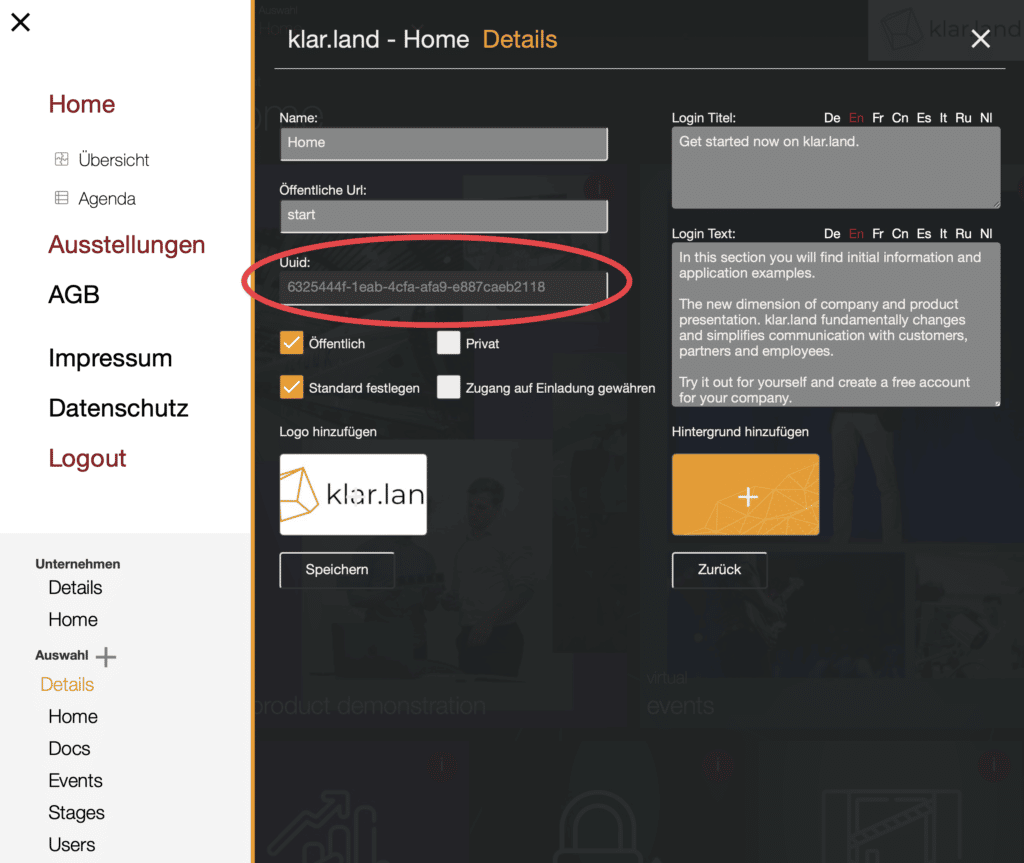
The UUID is generically created by klar.land and is a unique and unambiguous sequence of numbers and letters so that you can uniquely identify your workspace both in communication with klar.land support and in integrations. The UUID cannot be changed.
You can find the UUID in the corresponding field here. You can highlight the UUID by double-clicking in the field and copying it out.

Login title and login text
Workspaces that are not publicly accessible can only be accessed after registration or login. On this first “Login” page a title and text are displayed, which you can set up individually here.
Enter the title and text in the corresponding text fields.

Multilingualism
klar.land automatically detects which browser language a visitor is using and displays the corresponding language. To enable you to reach international customers, we offer different languages. You can provide your content directly in the different languages with login title and text.
Select your desired language and then enter the content in the selected language. Each language must be saved individually. After adding the selected language, click “Save”.

Public” checkbox
Public workspaces are available to any visitor without restrictions, who can access your company or other workspaces in your company. If your company is set up as “public”, every user of klar.land can also access your workspaces set up as “public”.
You can read about the user permissions here.
Private” checkbox
Private Workspaces are only visible to individually invited, registered and approved users of klar.land. This gives you the option of setting up an employee or partner area, for example, which is only available to the people who are allowed to access it.
Set default” checkbox
You can mark a workspace in your company as “set default”. This workspace will replace your company home page accordingly. An enterprise startup page offers a more limited feature set, but automatically makes all workspaces available in one overview.
The workspace marked as “Set default” is then also visible to non-logged-in and registered users. Accordingly, this workspace lends itself as a home page where you provide sufficient information and link to other workspaces to which visitors must then register and log in. This will generate new leads and allow you to enter into an individual exchange with new visitors.
Grant access by invitation” checkbox
A workspace is only available to users if the workspace is public or the user has been approved for it, i.e. invited by you and registered. The “Grant access on invitation” function makes a workspace accessible to a newly registered user immediately after registration without any verification. This allows you, for example, to link from a public area to this area and a visitor can “unlock” it directly.
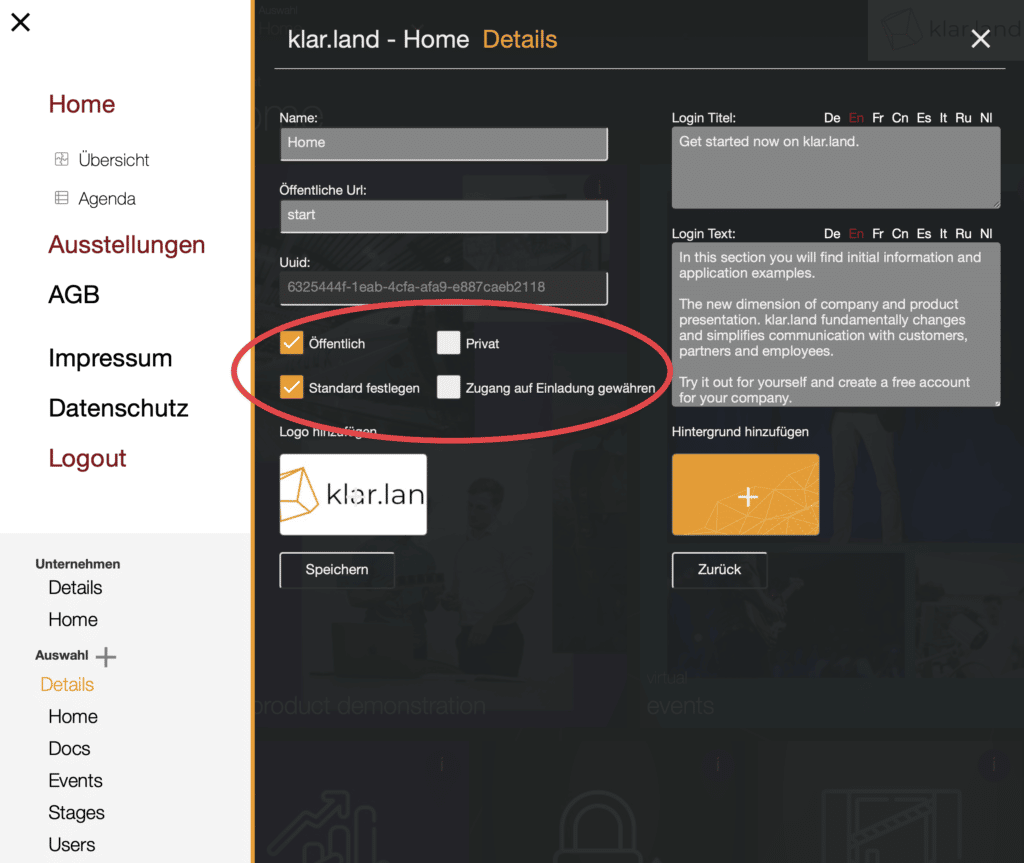
All checkboxes can be found in this section.

Add logo
An individual logo can be stored in each workspace. With a click on the area or by drag&drop the logo can be added as jpg or png. At best, the image file is optimized for web display so that page load time is reduced. The size of the image is not predetermined and you can choose it to fit your appearance.
Add background
In each workspace, the background image can be set up individually. Click on the area or drag and drop to add the image. We recommend jpg or png images whose file size is optimized for web display, with at least 1920×1080 px size.
Add logo and background image here.

Save
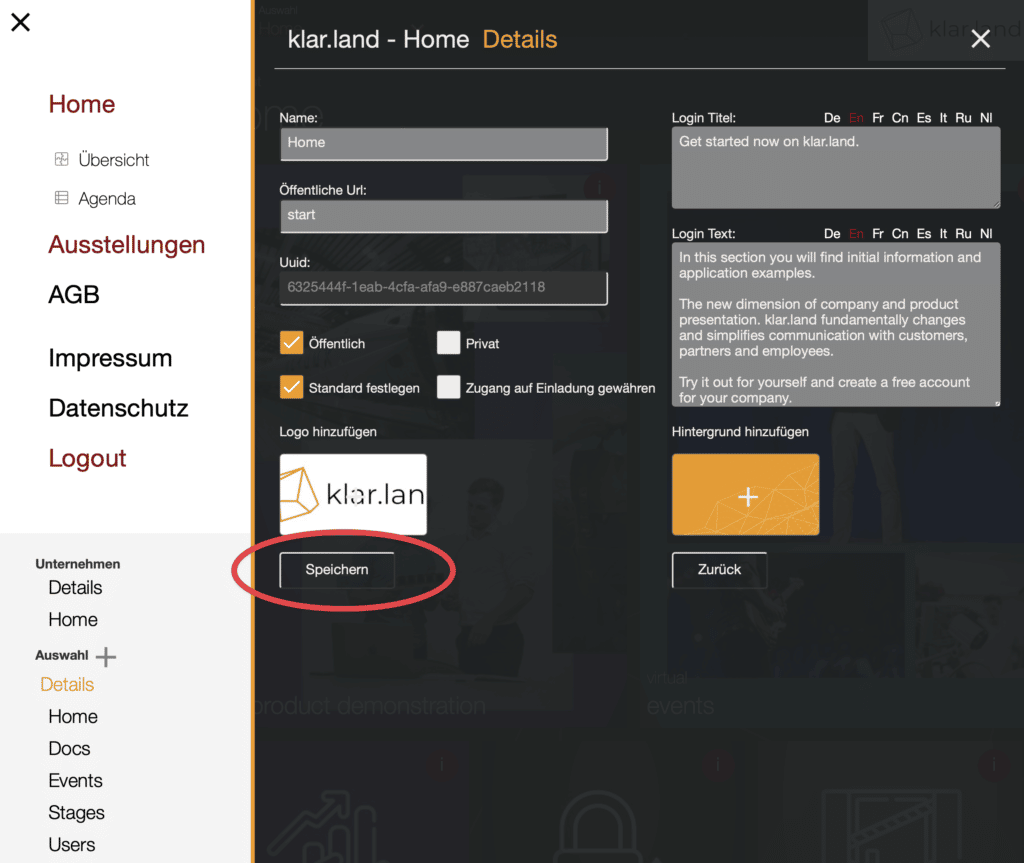
After you have customized and entered all the information, click “Save”. Afterwards you can check the adjustments with a “Reload” of the page.

Now you should have all the details of the workspace set up and can start creating the content.
