If you are an administrator who wants to create a company, this tutorial is for you. Here you get an overview of the menu structure as well as further links.
Top navigation
First, let’s look at the choices in the top navigation.
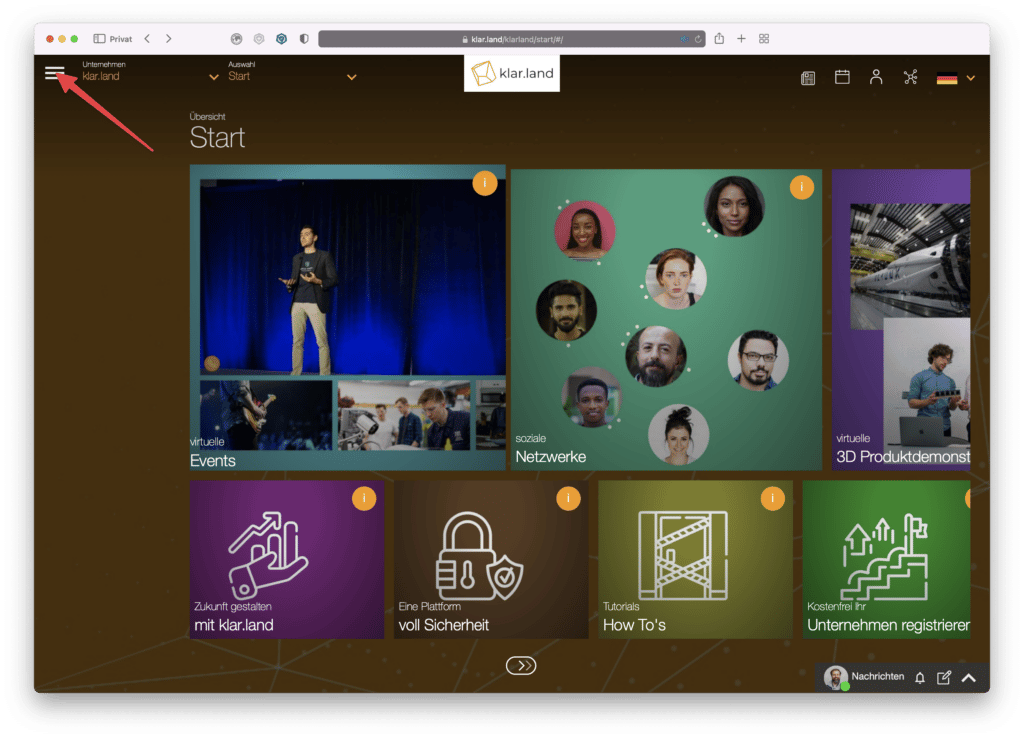
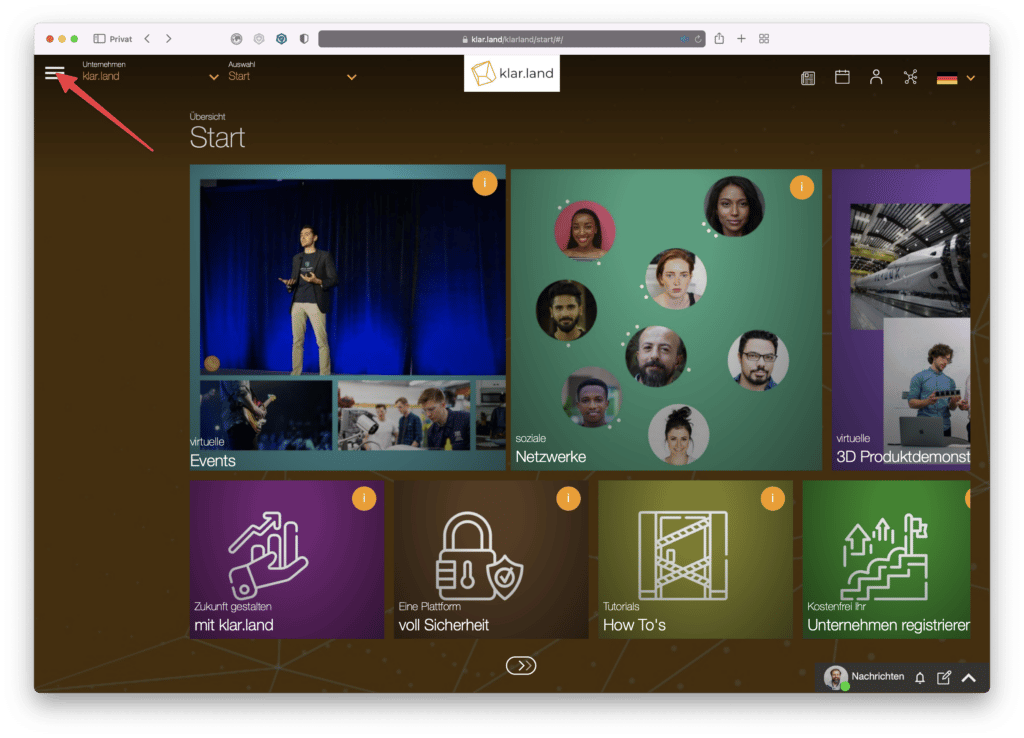
On the top left you will see a burger menu (three horizontal lines), which you can use to open the main menu in the sidebar. We’ll get to that a little later.
Right next to it, in the upper left corner, you will find the “Company” drop-down menu. Here you can see a list of all the companies you have access to.
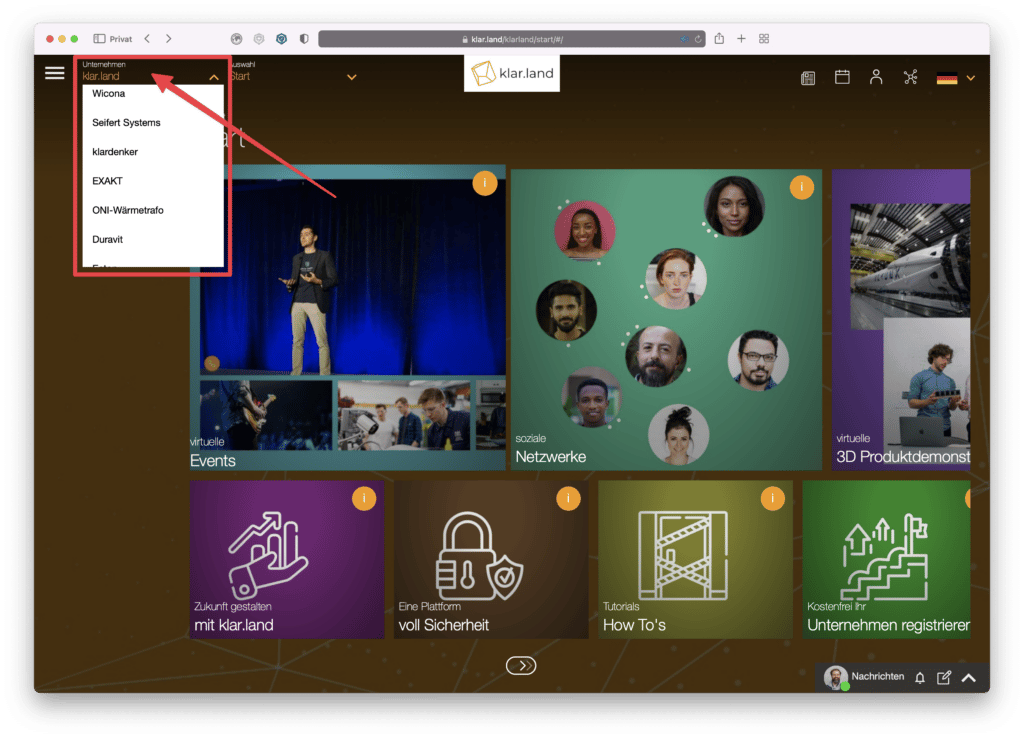
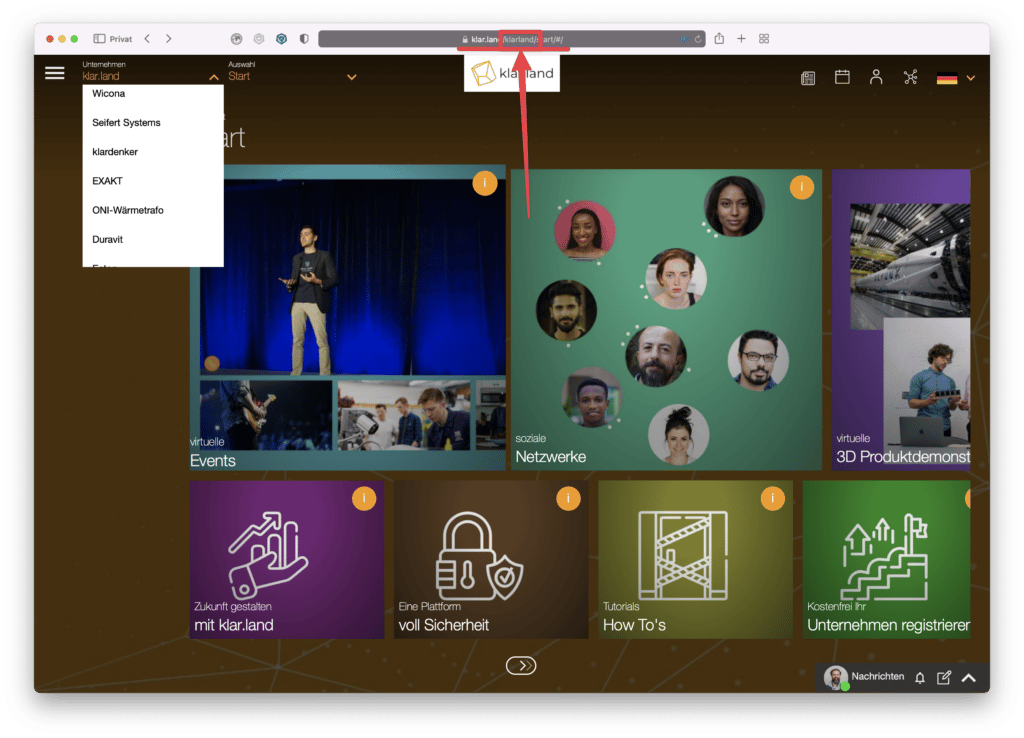
As a rule, this is clear.land as well as your own company. Additionally, companies are listed that have set their section to “public” and offer content to all users. There is a separate URL for each business unit. When the company is created, a URL with an alphanumeric code is automatically generated. You can change this, for example, to your company name. You can read how to do this in the tutorial“How to get your corporate exhibition up and running“.
To the right of the company field is the “Selection” drop-down menu. Here you can create different workspaces for your company. You can use these workspaces, for example, to make different content available to different users (e.g. one area for employees, one for customers, another for interested parties).
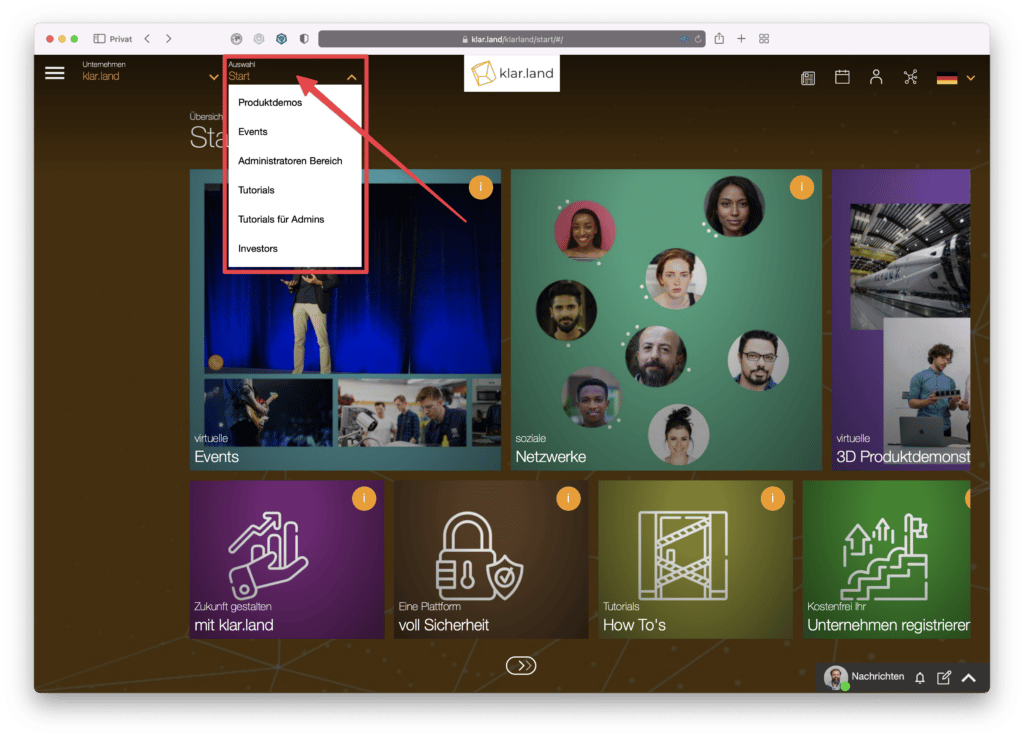
In this drop-down menu, each user sees only the workspaces that he or she can access. These can either be public workspaces or private workspaces for which he has access authorization. You can read how to manage them in the tutorial“User roles and rights“.
You can also create a separate workspace for a specific event and present all content related to the event in it, store links to video meetings or offer 3D demonstrations.
Workspaces also become part of the URL. Initially with a generic alphanumeric code, which can also be changed. You can read how to do that here.
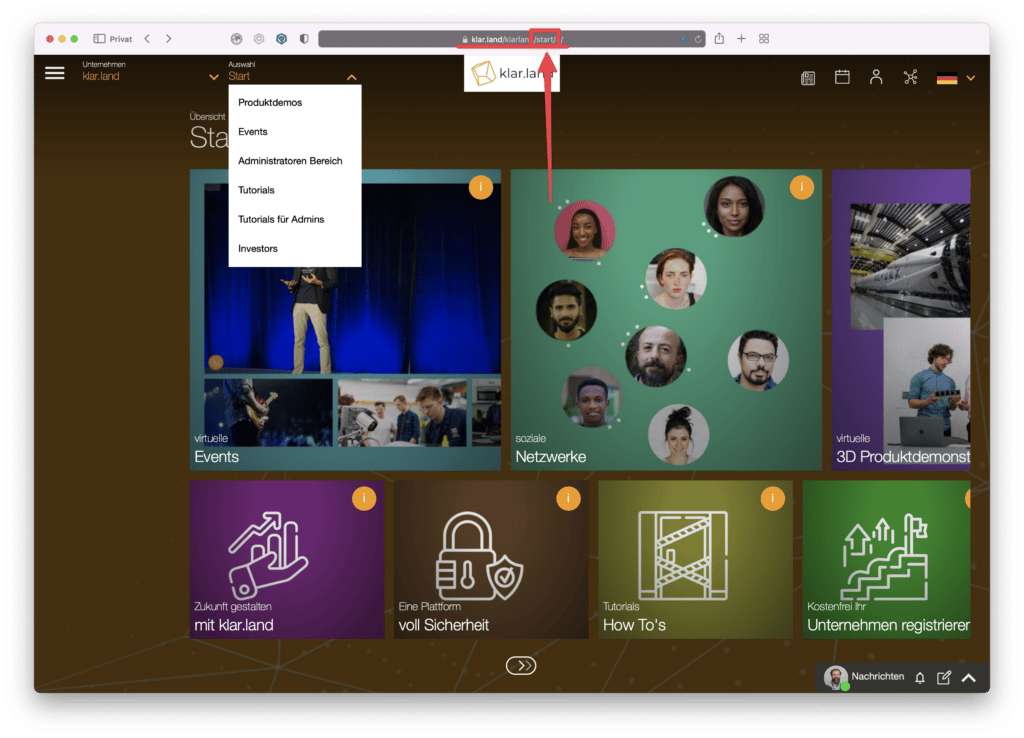
The full URL (deep link) can be shared so that users arrive directly at the desired workspace.
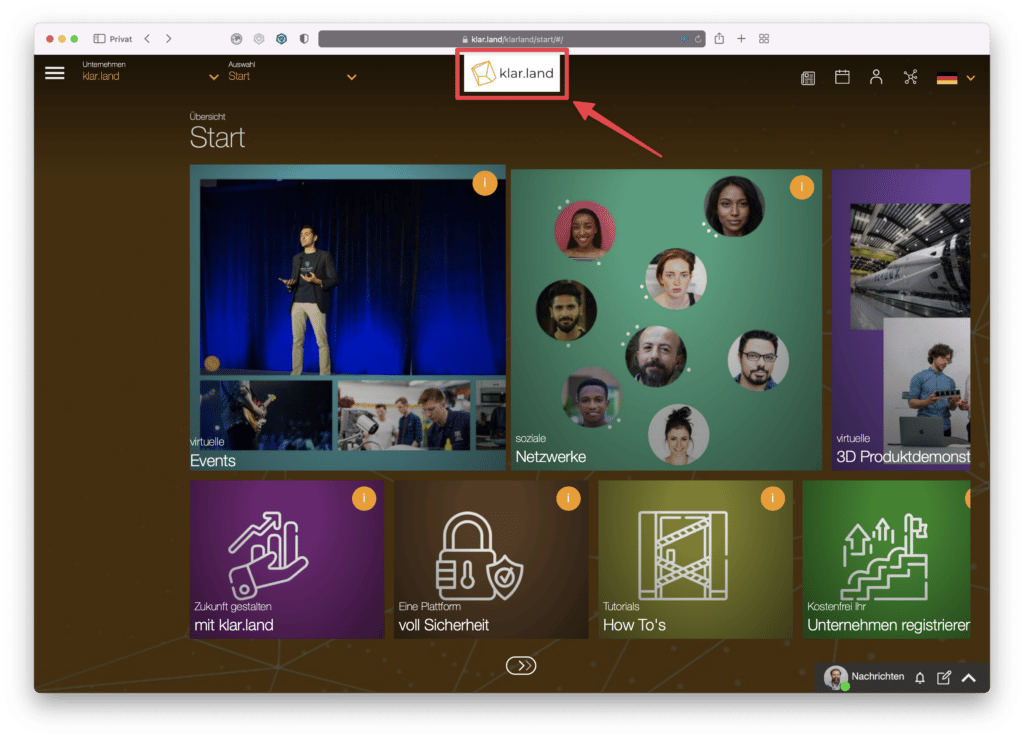
In the middle of the top navigation you can see the company logo.
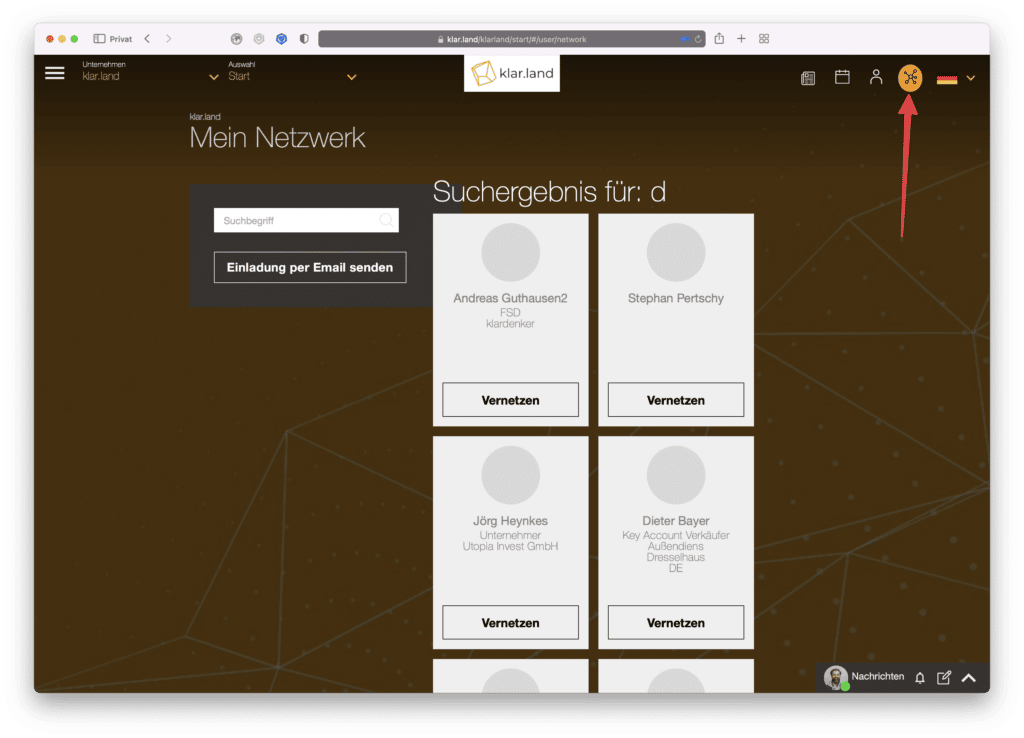
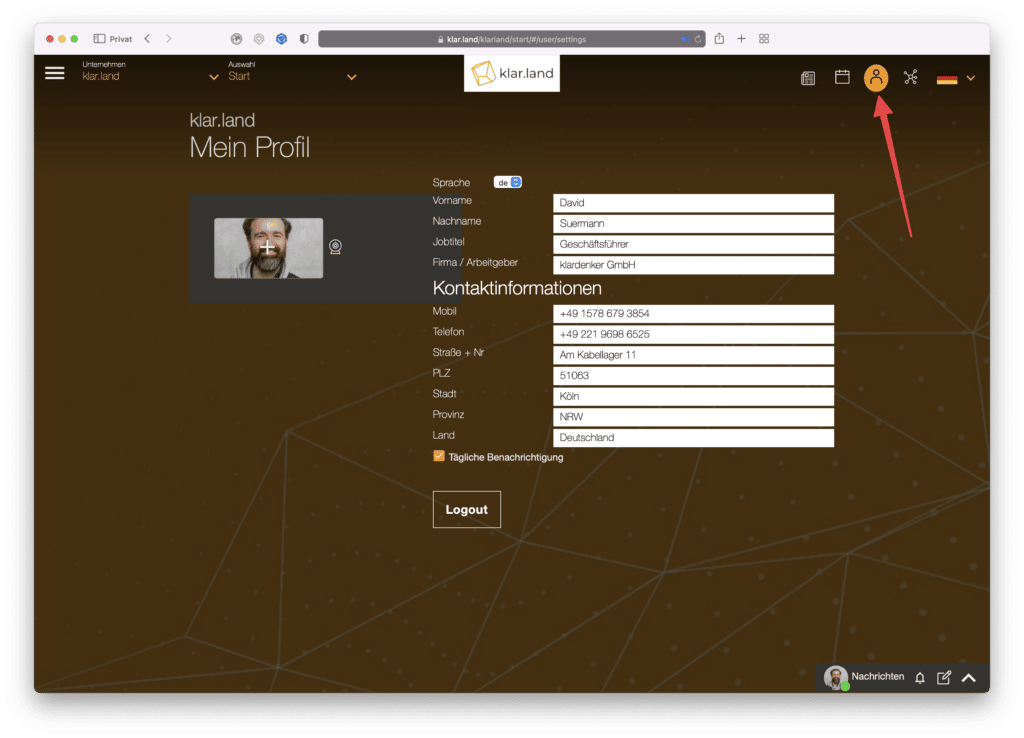
In the upper right corner there are four icons for additional functions. From left to right these are:
My network. Here you can search for people or invite them by e-mail. For more details, see the tutorial“Adding and networking users“.
My profile: Upload a photo of yourself here and add any additional information if necessary. You can read how to do this in the tutorial“Complete your profile“.
Calendar: Create new events here or get an overview of upcoming events. More info can be found in the tutorial“Create appointment in calendar“.

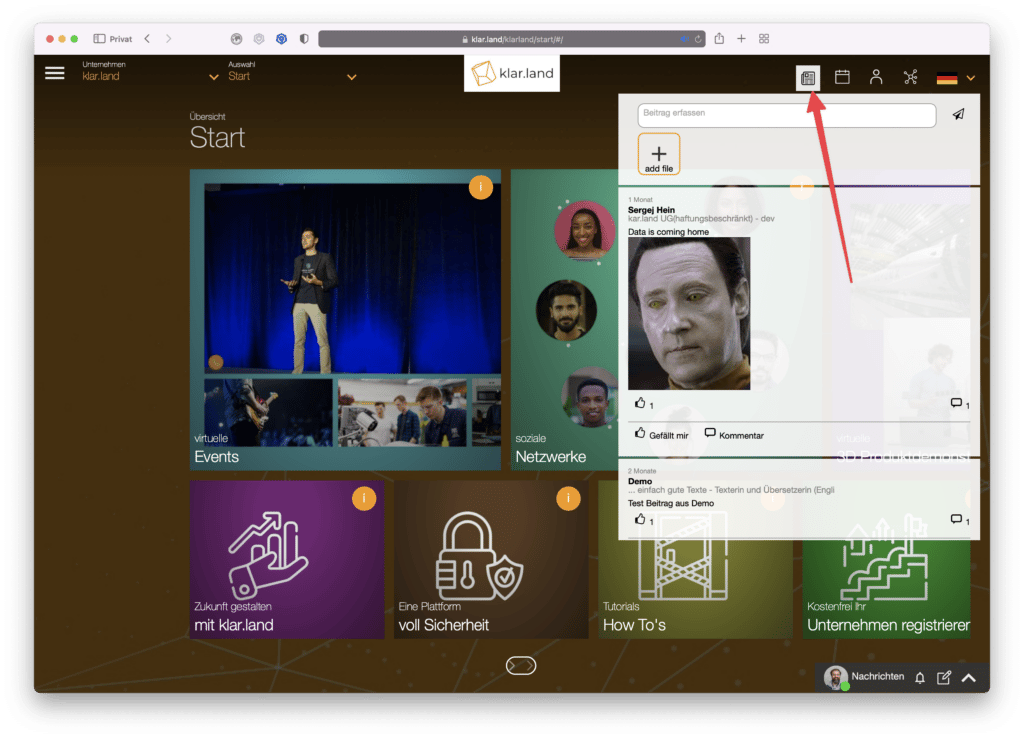
Social Board: Click on the newspaper symbol to open the Klar.land social media area. You can read details about this in the tutorial“Using social media on Klar.land“.
Side menu
Click on the burger menu in the upper left corner to open the main menu on the left side. Here you can change general settings for the whole company as well as details about the workspace you are currently in.
General area
In the topmost area of the page menu you will see the name of the current workspace. Clicking on“Overview” will take you to the Workspace home page.

Exhibitions: Here you will find 3D presentations or products of your company once you have added them. To lead your visitors directly to specific 3D presentations, you can also link them with a tile on your company’s homepage or in a specific section. To learn how to create a tile, see the tutorial“Linking content in the workspace“.

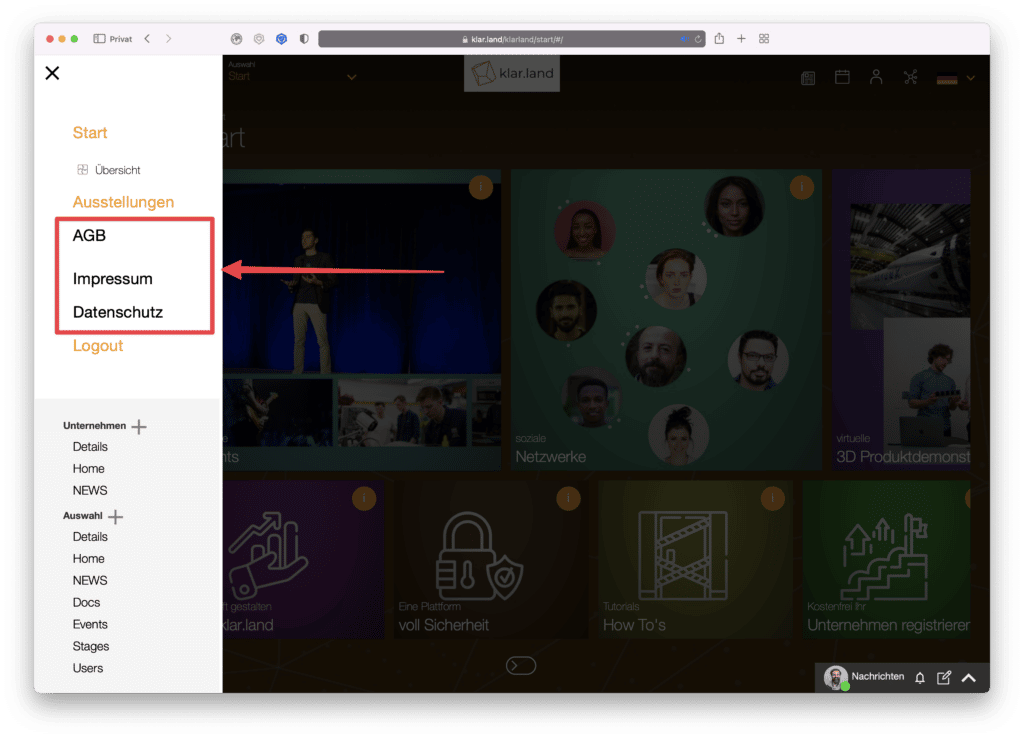
You will also find links to Klar.land’s terms and conditions, imprint and privacy policy in the upper area. These are available in different languages.
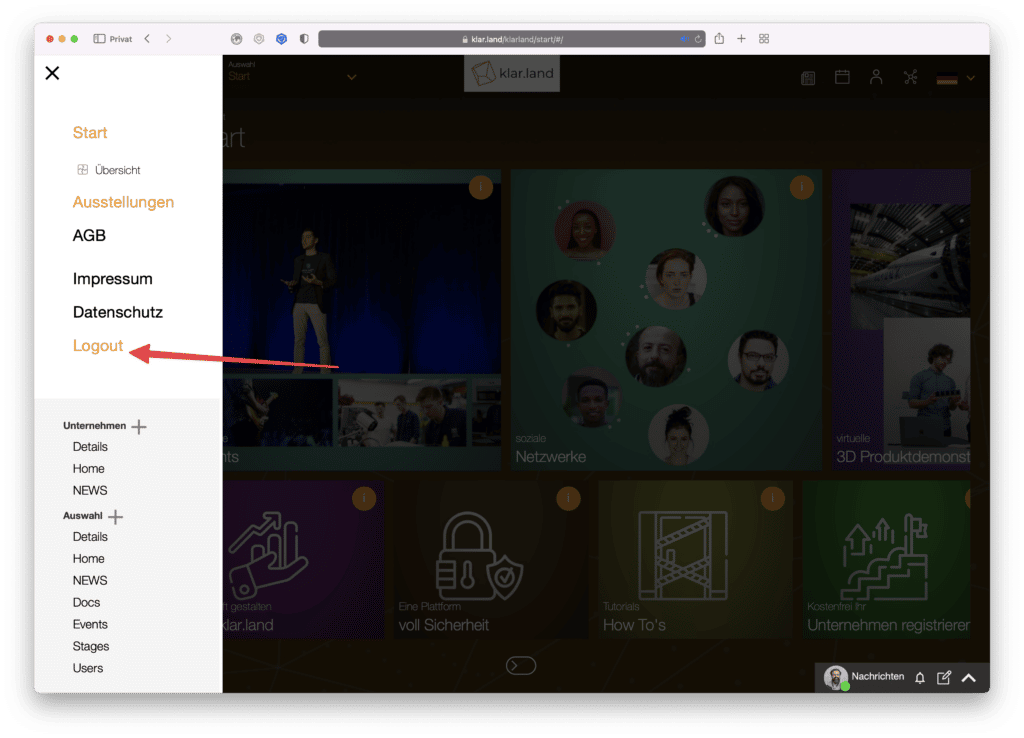
Here is also the button for secure logout.
Administration menu
The lower menu area with a light gray background is only visible to administrators.

Here you can edit the details of your company . There is a separate tutorial for this:“How to set up your company“.
Under the “Selection” item, you can manage the individual workspaces in your company or create new ones. To create a new workspace, click the plus icon next to “Selection”. An input mask appears in which you can complete the details. You can read how this works in detail in the tutorial“How to set up a workspace“.
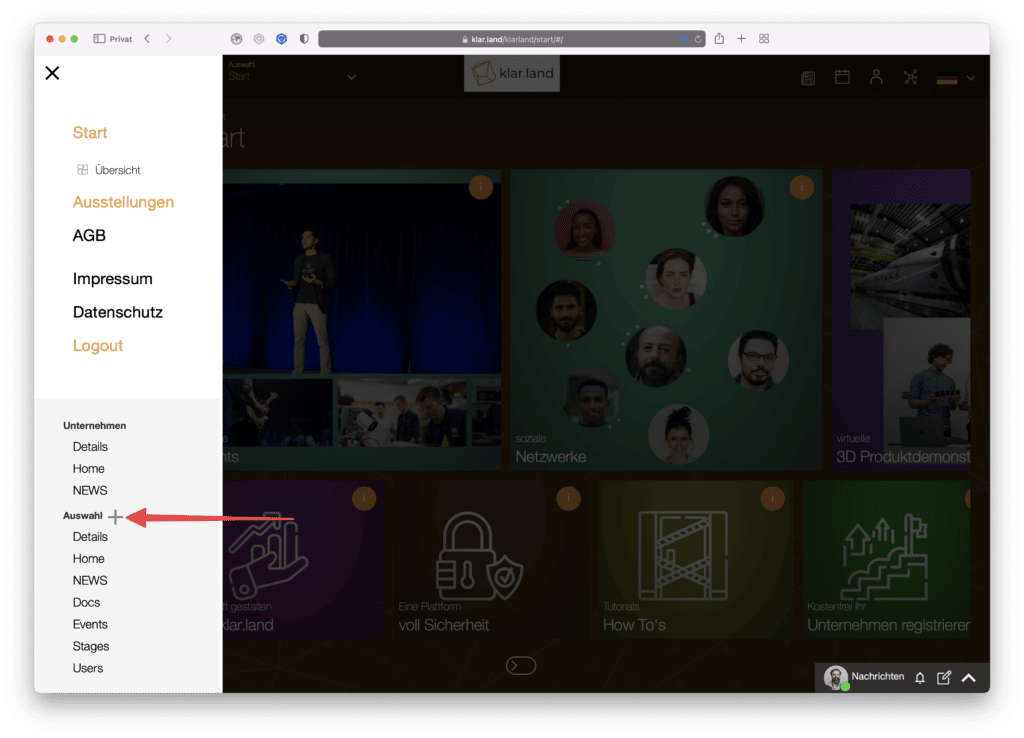
The individual sub-items are each explained in their own tutorials, which are linked below.
Details: Here you can edit the details of the current workspace. You can read how to do that here:“How to set up a workspace“
Home: Here you edit the start page of the workspace. You can add more tiles by clicking the plus icon. You can find more information about this in the tutorial“Linking content in the workspace“.
NEWS: Click on “News” to open an input window in which you can create a social media post. This is then only visible in this workspace. If you want to add a news at the company level, click the word “News” in the company section of the menu.
Docs: Create documents here that should be available in the current workspace. You can read how to do this in the tutorial“How do I add new documents/content?“
Events: A tutorial on how to create events can be found here:“Create and set up virtual events“.
Stages: These are the virtual 3D rooms that you can create for your visitors to present your products. You can see examples of this in the tutorial:“Exploring and operating 3D models“. You can read exactly how to proceed with the creation in the tutorial“How to create 3D data for Klar.land“.
Users: opens the user management for this workspace. You can add users and manage their rights here. For more detailed information, see the tutorial“User roles and rights“.
